

Configuration of Customer Access Portal
The Customer Access portal enables your customers to sign in to their customer profile within Billingbooth, allowing them to view historical invoices, payments and calls, whilst also allowing self-serve options to update their information with you.
In order to do this, the portal first needs to be enabled and a series of simple steps need to take place.
Set up
To begin configuration of your customer portal, you will need to head over to Settings -> Customer Access. You will be faced with the following create wizard step:
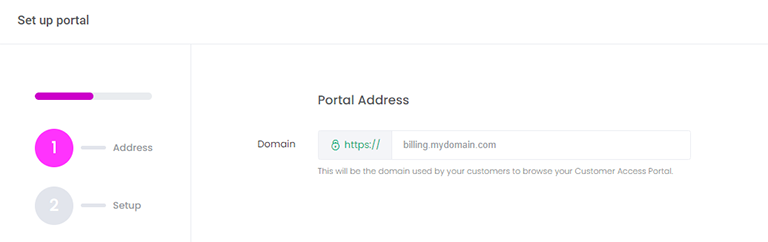
The first step in creating a customer portal is choosing the domain that will be used for your customers to access the portal. This should be something simple and short that your customers can remember, and can either be a sub-domain of your main organisation's domain, such as billing.mycompany.com, or a dedicated domain you may register for the purposes of this portal such as mybillingportal.com.
In either instance, you need to have DNS control over the domain/sub-domain so you can proceed to the next step:

Before completing the last step of the wizard, you will need to create a new DNS record as per the instructions provided. To do this you will need to access your domain's host and they should provide you with some kind of control panel that will allow you to add the record. The following record will need to be added:
| Type | Name | Target |
|---|---|---|
| CNAME | your.subdomain.com | customers.billingbooth.app |
If you are using a web proxy of some kind, such as Cloudflare, please ensure the CNAME record is not proxied in any way and points directly to customers.billingbooth.app
Once this record has been created, you can then complete the setup. Billingbooth will validate that the sub-domain/domain is pointing to the required destination and generate the necessary configuration to get the site available publicly. An SSL certificate will be issued by LetsEncrypt for the purposes of ensuring secure communications.
Next steps
Once the Customer Access portal is set up and you have tweaked any configuration details you wish to customise, the next step is to configure the user access to the portal.