

Customers
The best place to get started is the Customers screen, which you can access by clicking on the Customers menu item in the left-hand navigation and then the Customers sub-menu link.
There’s two methods of adding customers to Billingbooth One, manually creating them or by bulk importing them. We’ll go over manually creating them first and then explain how to bulk import them.
Adding a customer
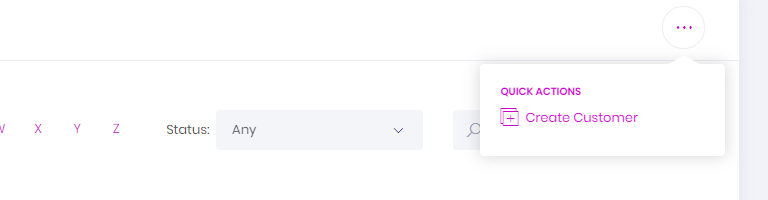
To add a new customer from the Customers screen manually, click the Create Customer button at the top-right of the screen.
This will take you to the Create New Customer wizard.
Step 1 - Customer Information
General
| Field | Description |
|---|---|
| Customer Name | The name of your customer. |
| Reference (Optional) | This is most commonly an internal customer reference you use in conjunction with your third-party accountancy packages such as Sage, Xero, Quick Books etc.. |
Invoicing
| Field | Description |
|---|---|
| Customer Group | This field allows you to assign the customer to a specific Customer Group. When you first create your account, you will have a Default manual customer group set up in the Customers > Groups section in the left-hand navigation. A manual customer group allows you to bill that group of customers as and when you need, you can also set up customer groups to have their billing run performed automatically. You can have multiple customer groups, allowing you to bill different batches of customers and at different times. |
| Send via email | When checked (the default option) the customer will automatically be emailed their invoice and any applicable itemised statement(s) after they are successfully invoiced to the Delivery Email address specified below. |
| Delivery Email | This is the email address invoices and applicable itemised statement(s) are sent to this customer via, this can be different to their email address specified in the Contact Details section. If you wish to enter multiple email addresses, separate each address with a comma (,). |
Branding
| Field | Description |
|---|---|
| Organisation | This corresponds to what branding you want this customer’s invoices, itemised statements and customer access portal to feature. By default, this will be set to the Organisation you have listed as the default Organisation. |
Step 2 - Contact Details
Address
| Field | Description |
|---|---|
| Registered address, Town, County (Optional), Postcode, Country | The address of your customer. |
Contact details
| Field | Description |
|---|---|
| Telephone | The contact telephone number for your customer. |
| Email address | The contact email address for your customer, this can be different to the Delivery Email assigned in the Customer Information step. |
| Web site | The URL of the customer’s web site. |
Step 3 - Financial Details
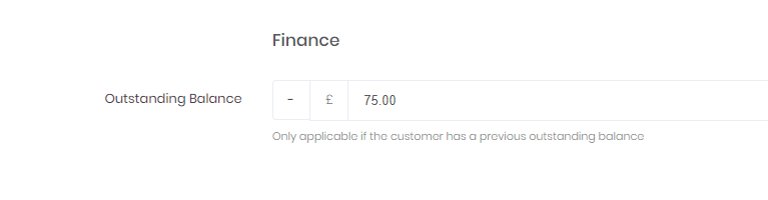
Finance
| Field | Description |
|---|---|
| Outstanding Balance (Optional) | This field allows you to set a customer’s outstanding balance, i.e. whether they are in debit or credit with you. |
Step 4 - Tariffs
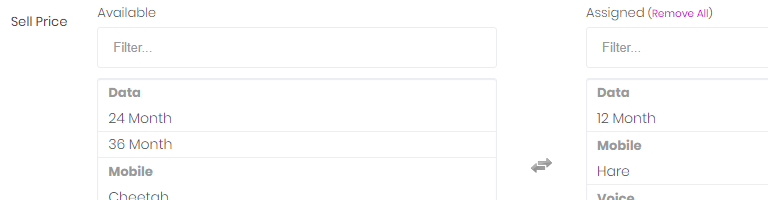
Tariffs
| Field | Description |
|---|---|
| Sell Price | The idea of this field is that you might have a wide selection of tariffs but only one of them from each category would actually apply to this customer. This field allows you to assign the appropriate tariffs to your customer. |
Adding a cost centre to a customer
What is a cost centre?
A cost centre allows you to break a customer down further by stipulating a location, office, department etc.
For example, your customer has requested their calls be separated between their London and Brighton offices. By creating a cost centre for the London office and a cost centre for the Brighton office, you can then assign the customer's CLIs to the respective cost centre in the Caller Identification section.
When your customer receives their invoice, they will see a breakdown of costs between the two cost centres.
Adding a cost centre
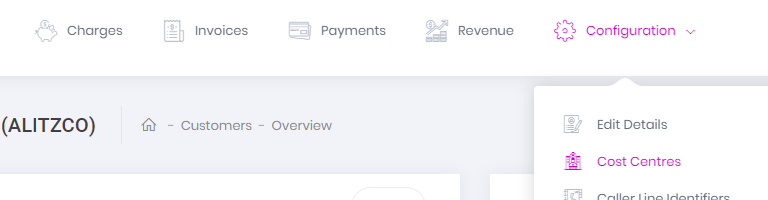
To get started we need to head to a respective customer’s cost centres screen, which you can access by clicking on the Customers menu item in the left-hand navigation and then the Customers sub-menu link, selecting an applicable customer and then clicking Configuration in the customer sub-menu at the top of the screen followed by Cost Centres.
To add a new cost centre from the Cost Centres screen, click the Add Cost Centre button at the top-right of the screen.
This will take you to the Create New Cost Centre screen.
General
| Field | Description |
|---|---|
| Cost Centre Name | The name you wish to give the cost centre. This will appear on customer invoices and usage statements. |
Once you're done click the Create button to create the cost centre.
Adding a line identifier (CLI) to a customer
What is a line identifier?

Whenever you upload a Call Detail Record (CDR) or a service file, each line item will have a means of identifying who the line item belongs to, which is the purpose of a CLI.
Adding a line identifier
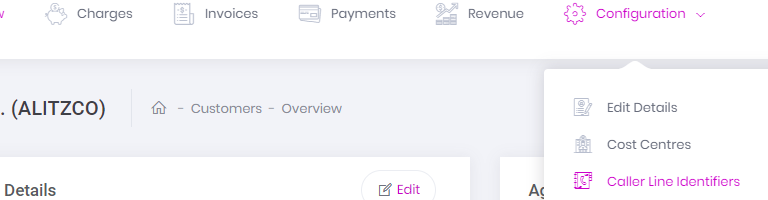
To get started we need to head to a respective customer’s Caller Line Identity screen, which you can access by clicking on the Customers menu item in the left-hand navigation and then the Customers sub-menu link, selecting an applicable customer and then clicking Configuration in the customer sub-menu at the top of the screen followed by Caller Line Identifiers.
To add a new cost centre from the Cost Centres screen, click the Add Line Identifier button at the top-right of the screen.
This will take you to the Create New Caller Line Identifier screen.
General
| Field | Description |
|---|---|
| Line Identifier | The identifier you want to match to the customer or cost centre. |
| Description (Optional) | A description of the line identity, often the name of the person whose line identity it's assigned to. |
| Type | You are able to select either SIP, WLR, Mobile or Data as the type of line identifier this is. If you're unsure which type your line identity matches to, feel free to go with the closest one as there's no type-specific logic to worry about. |
| Cost Centre | This field will only appear if you have created at least one cost centre. With this field you can opt to assign the Line Identifier to a Cost Centre you've created. |
Billing
| Field | Description |
|---|---|
| Exclude from billing | If this field is checked, it will exclude anything matched to this CLI from being billed. It will still be matched against it, but it won't be billed. |
| Spending Cap (Optional) | Once this line identity has reached the Spending Cap threshold, they will no longer be charged for Voice, Data or SMS charges, however, the charges will still be matched and incur cost. |
Once you're happy with your entered values, click the Create button to create the new Caller Line Identifier.
Customer Status
Within Billingbooth One, there are three different customer statuses:
| Status | Description |
|---|---|
| Active Customers | This is the standard status for a customer you've created within Billingbooth. With an active customer, you can assign CLIs and charges to them. They will also be included in billing runs (if they have applicable charges). |
| Suspended Customers | A customer that is set to Suspended means that the customer will not be included in any billing runs they usually would be. A suspension is deemed as a temporary measure you'd often employ if, say, the customer in question hasn't kept up with invoice payments and you've temporarily suspended their account until they do so. |
| Cancelled Customers | A customer that is set to Cancelled means that the customer will also be not included in any billing runs and in addition, any CLIs previously assigned to them will be removed. Cancelling a customer account is a measure you can take when a customer is no longer an active customer and may or may not become a customer again in the future. Unlike Suspended Customers, Cancelled Customers will appear in the Customer Growth report. |
How to set customer status
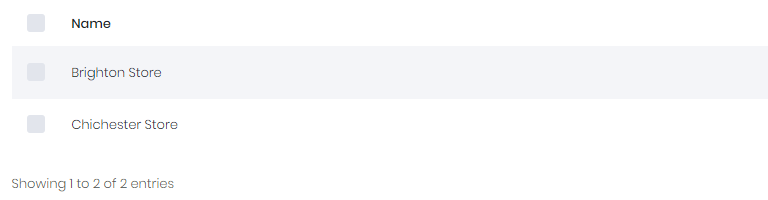
To set a customer status, first click the Customers icon in the left-hand main navigation and then select the Customers sub-menu option.
This will take you to the Customers listing screen. From here you can select customers using the checkboxes which will then reveal options to bulk set the status of the selected customers as you require.
Bulk importing customers
To get started click on the Customers menu item in the left-hand navigation and then the Customers sub-menu link.
You'll now be on the Customers listing screen, from here click the Import Customers button at the top-right of the screen.
This will take you to the Bulk import customers screen.
From here you must first click the Download Customer Import Template button, this will download an Excel (.xlsx) spreadsheet.
INFO
The spreadsheet you download has columns specific to how you've set up your Categories, Tariffs, Organisations and Customer Groups, so you may wish to make sure you've set these up as you need before downloading and filling out the file.
Open the spreadsheet and populate the columns with the relevant data:
| Column | Description |
|---|---|
| Customer Name | The name of your customer. |
| Reference (Optional) | This is most commonly an internal customer reference you use in conjunction with your third-party accountancy packages such as Sage, Xero, Quick Books etc.. |
| Address Line 1, Address Line 2 (Optional), Address Line 3 (Optional), Address Line 4 (Optional), Town, County (Optional), Postcode, Country | The address of your customer. |
| Telephone (Optional) | The contact telephone number for your customer. |
| Email Address (Optional) | The contact email address for your customer. |
| Delivery Email (Optional) | This is the email address invoices and applicable itemised statement(s) are sent to this customer via, this can be different to their email address specified in the Email Address column. |
If you wish to enter multiple email addresses, separate each address with a comma (,). | |
| Organisation | This corresponds to what branding you want this customer’s invoices, itemised statements and customer access portal to feature. |
| Customer Group | This field allows you to assign the customer to a specific Customer Group you've set up in Billingbooth. Customer Groups dictate when you want to bill your customers. |
| Anniversary Billing Day | If the Customer Group you select for the customer uses anniversary billing, this column detirmines which day the customer will be billed each month. |
| Tariff:[Category] | If you've set up Tariffs and Categories, you will see fields allowing you to specify a tariff for each customer for the respective categories. |
Once you've filled it in and saved the file, you're then able to either drag the file onto the File field on the Bulk import customers screen or instead click the File field and browse to the file on your computer.
If any errors are picked up with your file, Billingbooth will cancel the upload process and inform you what the errors are. You'll need to ensure your file is error-free to upload your customers.
Otherwise, if all is clear, you'll get a modal window pop up to let you know the upload was successful before being taken back to the Customers listing screen.
Tagging a customer
Tagging enables you to assign one or more tags/labels to your customers for grouping, filtering and reporting purposes.
For example, you could tag specific company entities, locations, offices etc..
Creating a customer tag
There are three methods of creating a customer tag:
During Customer creation/amendment
To create a customer tag whilst creating or editing a customer, first click the Customers icon in the left-hand main navigation and then select the Customers sub-menu option.
Then, depending on whether you wish to add a new customer or amend one, either click the Create button at the top-right of the screen or click a customer listing's Amend button respectively.
On whichever screen you've chosen, you'll find the Tag field. Clicking into this field will show you tags you've already created, you can either type out an existing tag or click one to assign it to the customer. Alternatively, you can type in a new tag into the field.
To add multiple tags, simply separate each tag with a comma (,).
On the Customer listing screen
To create a customer tag via the Customer listings screen, first click the Customers icon in the left-hand main navigation and then select the Customers sub-menu option.
Next, select the customer listings you wish to add tags to by checking their respective checkboxes on the left-hand side, this will cause some additional options to appear.
One of the new options will be a Tags button, which if you click it, will allow you to Add or Remove a tag. In this instance you'll want to click Add.
Use the Tags field to enter the tags you wish to apply to the customer(s) selected, once you start typing, Billingbooth One will give you show you existing tags that match the string you've already typed, whereupon you can click any existing tag to add it to the Tags field. Alternatively, you can type in a new tag into the field.
To add multiple tags, simply separate each tag with a comma (,).
Should this customer(s) have existing tags already, you can use the Replace existing tags field to replace the current tags with those from your Tags field.
From the Tags listing screen
To create a customer tag from the Tags listing screen, first click the Customers icon in the left-hand main navigation and then select the Tags sub-menu option.
Alternatively, from the Customers listing screen, you can click the Tags link in the top action bar.
This will take you to the Tags listing screen. From here, click Add Tag.
How to use customer tags
You can utilise tags in the following ways:
Filtering customers by tag
To filter customers by tag via the Customer listings screen, first click the Customers icon in the left-hand main navigation and then select the Customers sub-menu option.
Next, you can click into the Tags field at the top of the customer listings to show you the tags you've already created. Alternatively, start typing the name of one of the tags for the list to show tags featuring what you've typed already.
Selecting any of these tags will filter the listings to show only customers that have any of those tags associated to them.
Filtering category revenue by tag
To filter category revenue by tag, first click the Customers icon in the left-hand main navigation and then select the Category Revenue sub-menu option under the Financial sub-heading.
Next, you can click into the Tags field at the top of the Category Revenue screen to show you the tags you've already created. Alternatively, start typing the name of one of the tags for the list to show tags featuring what you've typed already.
Selecting any of these tags will filter the revenue report to show only revenue from customers that have any of those tags associated to them.
Filtering product revenue by tag
To filter category revenue by tag, first click the Customers icon in the left-hand main navigation and then select the Product Revenue sub-menu option under the Financial sub-heading.
Next, you can click into the Tags field at the top of the Product Revenue screen to show you the tags you've already created. Alternatively, start typing the name of one of the tags for the list to show tags featuring what you've typed already.
Selecting any of these tags will filter the revenue report to show only revenue from customers that have any of those tags associated to them.
Filtering terminating charges by tag
To filter category revenue by tag, first click the Customers icon in the left-hand main navigation and then select the Terminating Charges sub-menu option under the Rerports sub-heading.
Next, you can click into the Tags field at the top of the Terminating Charges screen to show you the tags you've already created. Alternatively, start typing the name of one of the tags for the list to show tags featuring what you've typed already.
Selecting any of these tags will filter the listings screen to show only terminating charges from customers that have any of those tags associated to them.