

Enabling file service access for users
Now that you have configured your customer access file service, you can now enable file service access for your customers by manually assigning them.
Inviting users
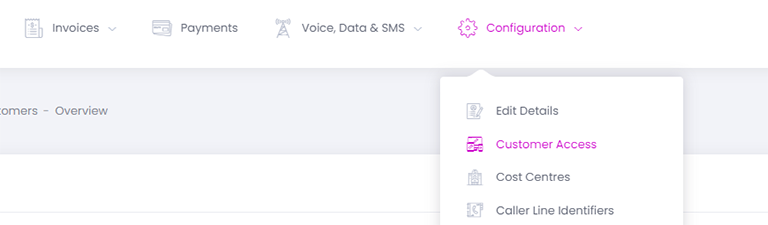
You can explicitly invite users to register and sign in to the customer access file service from within the main Billingbooth Portal. To do this, find the customer in Billingbooth, then under the Configuration menu click on Customer Access:
You will now see a list of all users that have access to the Customer Access web portal and file service for this specific customer. From here, you can click on Add -> Create file user and that will let you enter a description of the file user as well as an email address which the invite will be sent to.
Inviting the user will display a screen featuring the user's credentials alongside the hostname and port number, as well as sending the chosen email address a copy of the information. From there, they can then sign in and utilise the file service.
Customising email templates
You can customise your email templates by going to Settings -> Email Templates. Here a full list of of available email templates are listed.
Customer access file user created email template
Click Edit on the Customer access file user created template name, and by default you should see something like this:
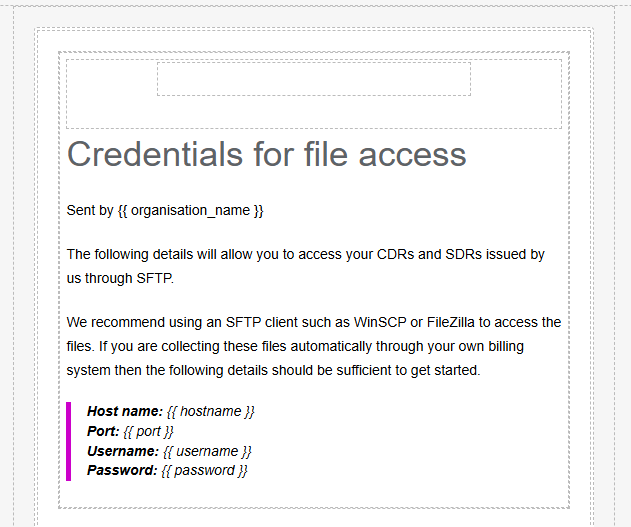
You can see in the above screenshot that there is some Liquid code in place which checks for hostname, port, username, and password variables, switching them with additional content which the customer will see in the email they receive. There are four variables available for the email template:
| Variable Name | Description |
|---|---|
| hostname | The absolute URL for the customer access file service to sign in |
| port | The required port used to connect to the file service |
| username | The username used to authenticate with the file service |
| password | The password used to authenticate with the file service |